ASV instructions
Installation
Tools and materials needed- • 4” holesaw (or other means of making hole through wall)
- • hacksaw
- • drill with 3/16” bit
- • phillips screwdriver
- • ASV hardware packet (provided with ventilator)

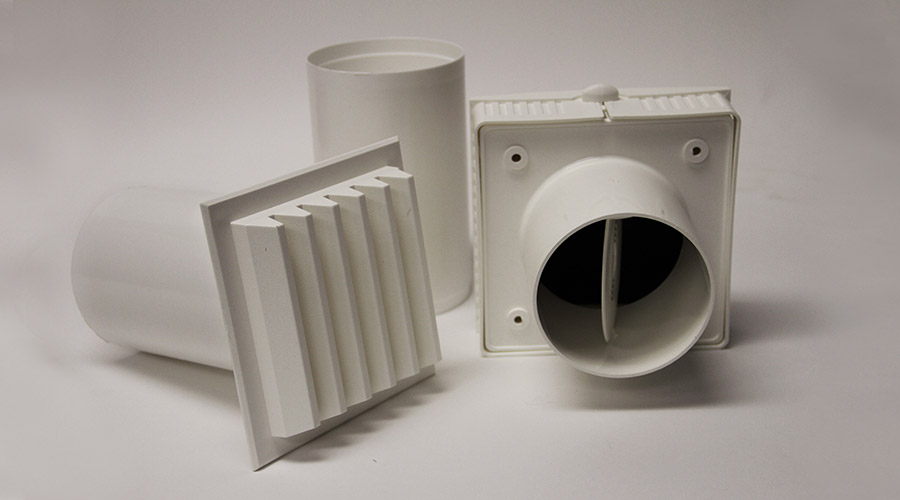
Locate an area on an outside wall, free of obstructions, that can accommodate a four inch round hole. Make the hole and insert one of the tubes until it is flush with the outside wall. Cut off any excess with a hacksaw. For deeper walls, the second tube may be needed.
Seal the tube to both interior and exterior walls with the rope caulking provided. Avoid getting the caulking inside the tube. Fasten the exterior grill assembly to the outside wall with four of the screws from the hardware packet.
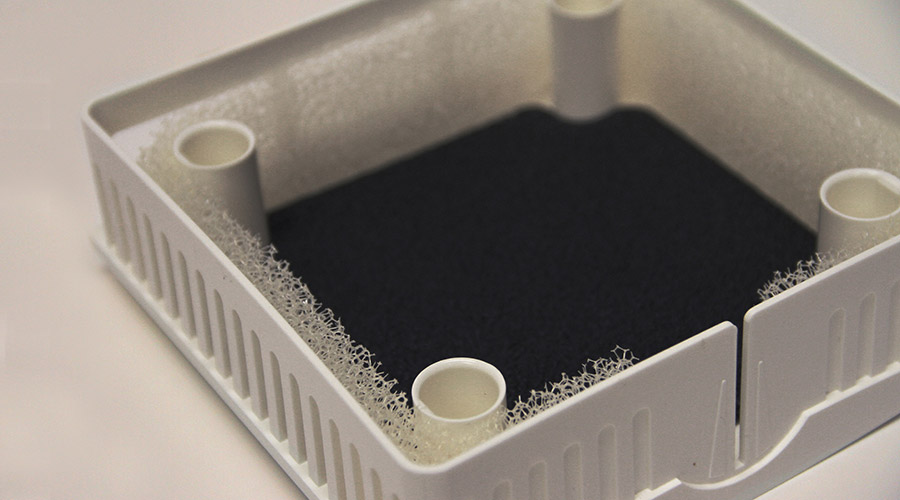
Place the interior damper assembly into the inside hole and mark the location of the four holes on the wall. Remove the damper assembly and drill four 3/16” holes at the marked spots. Insert the plastic anchors and fasten the damper assembly with the remaining four screws. Slip the damper slide control into the channel at the bottom and check its operation. Place the insulated cap onto the mounted damper assembly, and the ASV is ready to use.
Minimum air settings
To establish a constant low volume airflow, even when the damper is closed, remove the clear plastic plug on the damper. To increase the minumum airflow, remove one or more of the concentric rings surrounding the plug with a sharp knife.Note: Where ventilation is required by state or local codes, it may be necessary to remove the entire damper assembly to ensure an uninterrupted source of ventilation air. To remove the damper assembly, squeeze the round end of the interior controller to slightly elongate it on an up/down axis. The damper hinge posts can then be disengaged from the body of the controller. Remove the entire damper assembly and slide control. Place the insulated cap onto the modified interior wall mounting.


